Wall Plank
Demonstration video
Recommended by our experts
Receive your personalized program
Stop training at random.
Get my program- Program tailored to your profile
- Guided progression
- Compatible with your equipment
- Structured plan
Our coach prepares your program
Get my programHow to do Wall Plank
Instructions
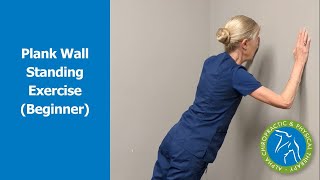
- Stand facing a wall approximately one arm's length away.
- Place your forearms against the wall with your elbows directly below your shoulders.
- Step your feet backward and lean forward until your body forms a straight line from head to heels.
- Brace your abdomen, tighten your glutes, and keep your ribs aligned over your pelvis.
- Hold the position without allowing your hips to sag or your lower back to arch.
- Step toward the wall to finish the hold safely.
Technical tips
- Press your forearms firmly into the wall to keep your shoulders stable.
- Keep your head aligned with your spine and avoid pushing your chin forward.
- Maintain even pressure through both feet and both forearms.
- Move your feet farther from the wall to increase the difficulty.
- End the hold when you can no longer maintain a straight body position.
Breathing tips
- Inhale gently through your nose while maintaining abdominal tension.
- Exhale slowly without relaxing your trunk or changing your alignment.
- Continue breathing normally throughout the hold and avoid holding your breath.
Medical restrictions
- Avoid the exercise if leaning against the wall causes acute shoulder, elbow, or forearm pain.
- Seek medical guidance before prolonged isometric holds if you have uncontrolled high blood pressure.
- Stop immediately if you experience dizziness, chest pain, numbness, or unusual shortness of breath.
Description
The Wall Plank is a beginner-friendly isometric exercise that develops whole-body tension, postural control, and the ability to maintain a stable trunk under load. Because the body is supported against a wall rather than the floor, the movement places less demand on the upper body and is easier to scale for people who are new to planks, returning to exercise, or building confidence before progressing to steeper incline or floor variations.
This exercise is especially useful for learning how to brace without holding the breath, keep the spine in a neutral position, and coordinate the shoulders, pelvis, and lower body as one stable unit. The upright angle also makes it practical for home workouts, office movement breaks, warm-ups, and low-impact strengthening sessions where getting down to the floor is inconvenient.
Regular practice can improve body awareness, endurance during static holds, and control during everyday tasks that require resisting unwanted movement. It also provides a simple foundation for more demanding exercises such as incline planks, high planks, push-ups, and loaded carries. The difficulty can be adjusted by changing the distance from the wall, the duration of the hold, or the angle of the body.
The Wall Plank is not intended to be maximally intense. Its main value is teaching efficient alignment and controlled tension in a highly accessible format. Performed consistently, it can help beginners establish the technical habits needed for safer and more effective progression to advanced plank variations.
Frequently asked questions
-
What are the benefits of doing a Wall Plank?
The Wall Plank improves trunk stability, postural control, body awareness, and isometric endurance while providing an accessible introduction to plank exercises. -
What is the most common mistake when I perform a Wall Plank?
The most common mistake is allowing the hips to move toward the wall or the lower back to arch. Keep your ribs aligned over your pelvis and maintain a straight body position. -
Is the Wall Plank safe for my back and shoulders?
The Wall Plank is generally a low-impact option when performed with neutral spinal alignment and stable shoulders. Stop if you experience sharp pain, numbness, or joint discomfort. -
Is a Wall Plank easier than a floor plank?
Yes. The upright body angle reduces the amount of body weight being supported, making the Wall Plank easier and more accessible than a forearm or high plank on the floor. -
How long should I hold a Wall Plank?
Beginners can start with 15 to 30 seconds for two to four sets. Increase the duration or move the feet farther from the wall only when alignment remains controlled.
Variants and alternatives
See all
Commando plank on knees
Beginner
Plank iytw
Intermediate
Planks on hands
Beginner
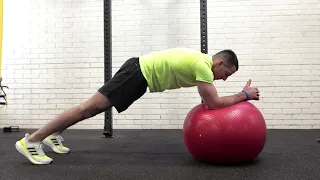
Swiss ball plank
Intermediate
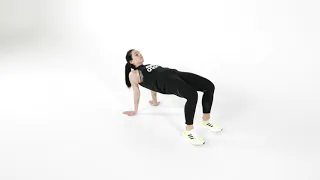
Reverse plank
Intermediate
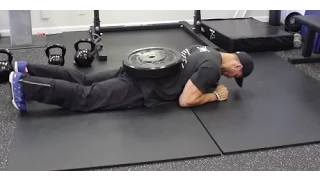
Weighted plank
Intermediate
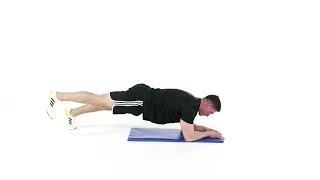
One-leg plank
Intermediate
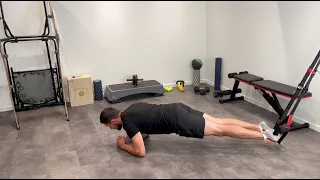
Trx forearm plank
Intermediate
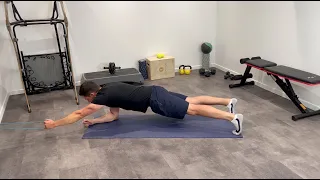
Plank with band pull
Intermediate
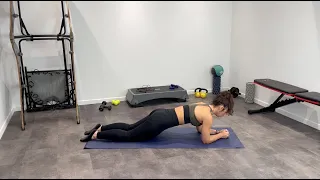
Plank on knees
Beginner
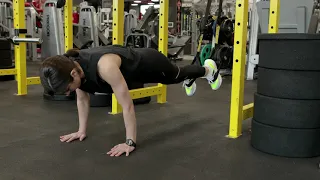
Trx plank
Intermediate
Kneeling plank walkout
Beginner
Related fitness articles
See all
Body recomposition: lose fat while building muscle
Muscle gain

Fitness formulas: protein, water, creatine and caffeine
Muscle gain

Carb cycling: useful for losing weight and performing better?
Nutrition

Muscle failure in strength training: what the science says
Muscle gain

Peptides in bodybuilding: effectiveness and risks
Nutrition
Chest pump push-up workout
Muscle gain
Succeeding at your first pull-up
At the gym

Shoulder pain in weight training: prevention and solutions
Risk of injuries
Recommended by our experts
Receive your personalized program
Stop training at random.
Get my program- Program tailored to your profile
- Guided progression
- Compatible with your equipment
- Structured plan
Our coach prepares your program
Get my program