Lose Weight at Home with Minimal Equipment
Intro
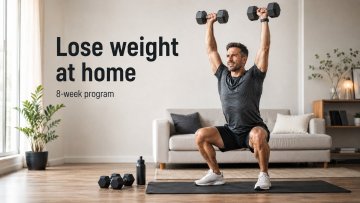
An 8-week strength training program designed to support weight loss, preserve strength, and promote progress using dumbbells and minimal equipment.
This program combines structured strength training with controlled energy expenditure to support weight loss while preserving as much strength and muscle mass as possible.
Who is this program for?
It is suitable for intermediate trainees who want to work out at home or in a simple training space, with sessions lasting about 60 minutes and dumbbells as the primary equipment.
Weekly structure
- Monday: lower body, with an emphasis on the quadriceps and posterior chain.
- Tuesday: upper body, with a balanced mix of pushing and pulling.
- Thursday: lower body, with unilateral work and hip-focused training.
- Saturday: upper body and a short conditioning circuit.
- The remaining days are reserved for rest or light daily activity depending on recovery.
Equipment and substitutions
Dumbbells are the primary equipment. A kettlebell or barbell can replace a dumbbell when the movement remains comfortable and controlled. A bench can be replaced with a very stable chair or sturdy support when the exercise allows it. A resistance band is optional and can be used as an alternative for certain pulling or isolation exercises.
How to progress
Keep the same structure throughout the entire cycle. First aim to improve repetitions or duration within the prescribed range while maintaining proper form, then gradually increase resistance when performance allows.
Monday : Lower body weight-loss workout
Use a smooth, comfortable range to prepare the legs without fatigue. Stop short of any painful depth and keep the knees tracking over the feet. Read more Read less
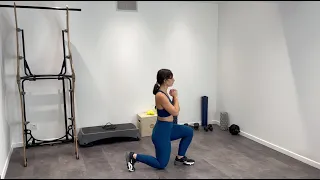
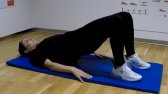
Use bodyweight only here and focus on glute contraction without lumbar hyperextension so the warm-up stays easy before the main work. Read more Read less
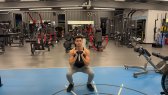
Use a load that leaves about 2 reps in reserve so you can keep total session work high without form breakdown. Keep the torso controlled and reduce depth if pelvic position deteriorates. Read more Read less
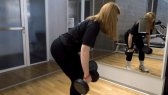
Keep the dumbbells close and stop the descent when hamstring tension is high but the spine remains neutral. Do not trade position for extra range as fatigue increases. Read more Read less
Do each exercise back to back without resting between them. Rest after completing the pair.
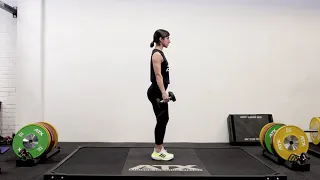
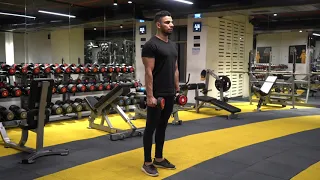
Pause briefly at the top and lower under control. Hold a stable support with the free hand if balance interferes with calf loading. Read more Read less
Do each exercise back to back without resting between them. Rest after completing the pair.
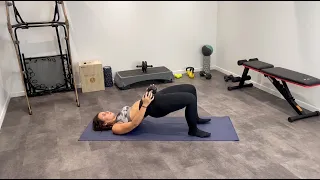
Place the dumbbell securely across the hips and finish with the glutes rather than the lower back. Use padding if direct pressure on the pelvis is uncomfortable. Read more Read less
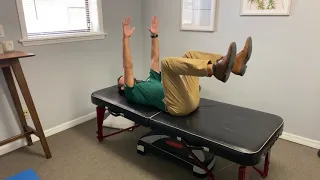
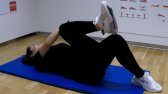
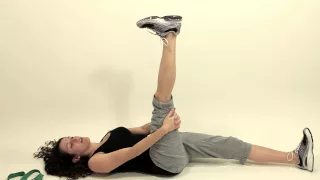
Perform the target reps per side while keeping the pelvis stable. Reduce leg range if the lower back lifts from the floor; extend the lever only when control is easy. Read more Read less
Do each exercise one after another. When you finish the list, rest then start again.
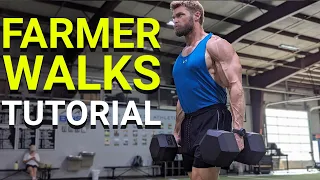
Walk at a brisk controlled pace to increase energy expenditure without losing posture. If space is limited, march in place while holding the dumbbells. Kettlebells are a direct substitute. Read more Read less
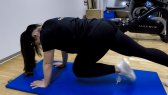
Use a pace that keeps the trunk stable for the full interval. Place the hands on a stable chair for an easier option; increase cadence only when position stays controlled. Read more Read less
Use continuous controlled reps to keep the finisher active without turning it into maximal effort. Reduce depth if technique deteriorates; hold one dumbbell at the chest only if bodyweight becomes too easy. Read more Read less
Tuesday : Upper body weight-loss workout
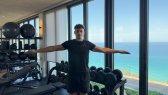
Increase the range gradually and keep the shoulders relaxed. The goal is to prepare the joints without creating fatigue before pressing. Read more Read less
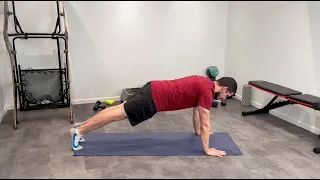
Keep the elbows straight and move mainly through the shoulder blades. Use the knees down if needed to keep this warm-up light and controlled. Read more Read less
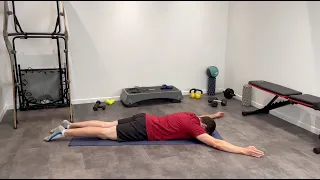
Use no load or only a very light load. Lift only as high as you can without shrugging so the shoulders are prepared for pressing. Read more Read less
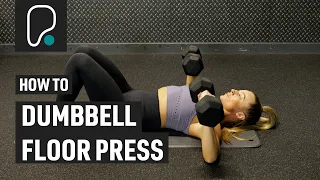
Use a challenging but controlled load that leaves about 2 reps in reserve so the session pace stays repeatable. Keep the forearms near vertical and avoid bouncing the upper arms off the floor. Read more Read less
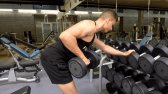
Perform all prescribed reps on each side with the pelvis stable. Brace the free hand on a stable chair if that lets the upper back do the work without lower-back fatigue. Read more Read less
Do each exercise back to back without resting between them. Rest after completing the pair.
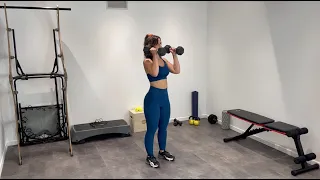
Press with the ribs controlled and avoid excessive lumbar extension. Sit on a stable chair if standing trunk fatigue limits shoulder output. Read more Read less

Use a controlled load and stop before shrugging. Reduce the dumbbell weight rather than using momentum as fatigue accumulates. Read more Read less
Do each exercise back to back without resting between them. Rest after completing the pair.

Perform it on the floor or a stable bench if available. Keep the ribs controlled and shorten the range if the shoulders feel strained. Read more Read less
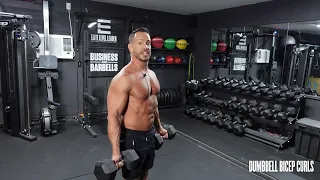
Keep the elbows close to the torso and avoid swinging. Prioritize clean reps and sustainable effort rather than adding load too aggressively. Read more Read less
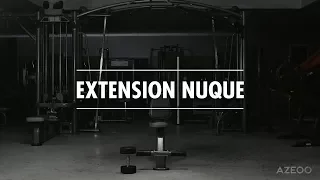
Keep the elbows stable and use a pain-free overhead range. If the shoulders dislike the position, use a Dumbbell Skull Crusher instead. Read more Read less
Do each exercise one after another. When you finish the list, rest then start again.
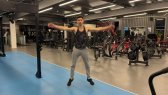
Keep a steady rhythm that raises breathing without losing coordination. Use a step-out version instead of jumping if impact becomes uncomfortable. Read more Read less
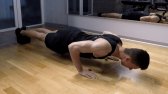
Use a variation that allows continuous clean reps during the circuit. Place the hands on a stable chair to reduce difficulty; elevate the feet only when standard reps are comfortably controlled. Read more Read less
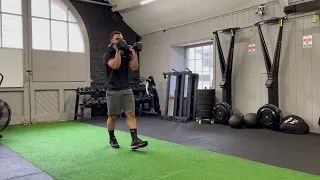
Keep the dumbbells at shoulder level and walk or march in place at a controlled pace. Use kettlebells if preferred and lower the load if the rack position breaks down before the interval ends. Read more Read less
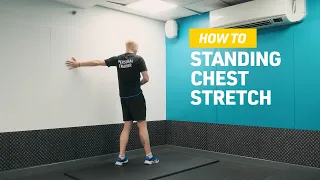
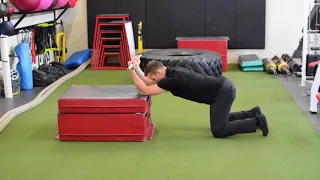
Use a comfortable range and keep the rib cage controlled. The cooldown should reduce tension, not become another hard effort. Read more Read less
Thursday : Lower body weight-loss workout
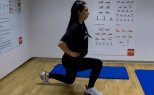
Use bodyweight and an easy range to warm up the legs. Keep the movement controlled and use light support if balance distracts from the warm-up. Read more Read less
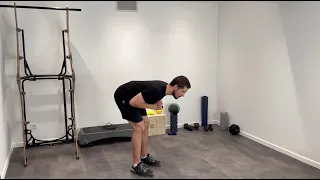
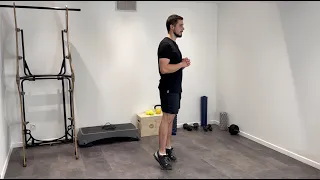
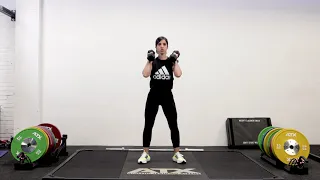
Keep the dumbbells at shoulder level and use a load that allows crisp reps with about 2 reps in reserve. Avoid maximal effort so total session work stays high and repeatable. Read more Read less
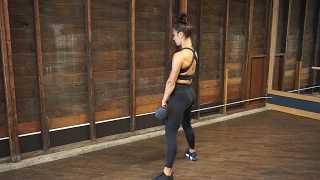
Use a stance that lets the knees track comfortably and keep the dumbbells close to the center of mass. Shorten the range if spinal position starts to change. Read more Read less
Do each exercise back to back without resting between them. Rest after completing the pair.
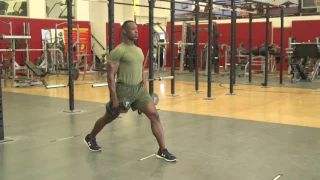
Perform the target reps per leg and keep most of the effort on the front leg. Use a stable support if balance limits force production. Read more Read less
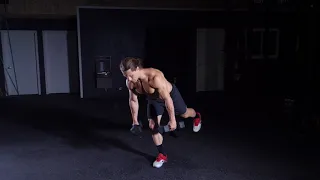
Use light hand support so balance stays secondary to hip loading. Keep the pelvis controlled and reduce range before losing spinal position. Read more Read less
Do each exercise back to back without resting between them. Rest after completing the pair.
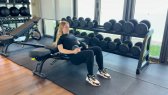
Use a stable bench or sturdy chair for upper-back support. Finish with the glutes and stop at neutral hip extension instead of arching the lower back. Read more Read less
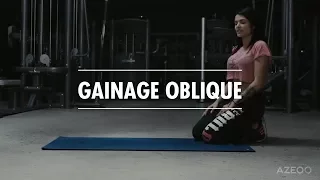
Hold each side with a straight body line. Use the lower knee for support if needed; a longer lever is the harder option once the full duration is controlled. Read more Read less
Do each exercise one after another. When you finish the list, rest then start again.
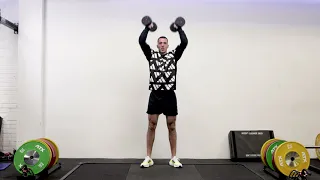
Use a moderate load that lets the squat and press remain smooth throughout the circuit. Use one dumbbell held at the chest as an easier option; kettlebells can replace dumbbells. Read more Read less
Keep the hips controlled and choose a cadence you can sustain for every round. Use hands on a stable chair to reduce impact and trunk demand if needed. Read more Read less
Keep the pace submaximal so the interval adds calorie expenditure without form collapse. Remove the jump or step the feet back one at a time if impact or fatigue becomes excessive. Read more Read less
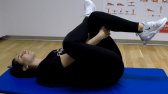
Increase the range gradually and keep the shoulders relaxed. The goal is to prepare the joints without creating fatigue before pressing. Read more Read less
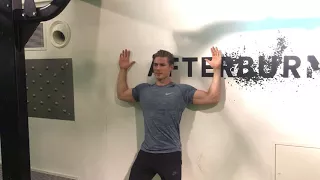
Keep the ribs controlled and move only through a range that stays smooth. This should prepare overhead motion without shoulder fatigue. Read more Read less
Keep the elbows straight and move mainly through the shoulder blades. Use the knees down if needed to keep this warm-up light and controlled. Read more Read less
Choose a version that leaves about 2 reps in reserve. Use hands on a stable chair to make it easier, or elevate the feet when standard reps become too easy. Read more Read less
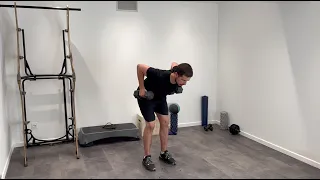
Keep the torso stable and row toward the hips. Reduce load or support the chest on a stable inclined surface if the lower back fatigues before the upper back. Read more Read less
Do each exercise back to back without resting between them. Rest after completing the pair.
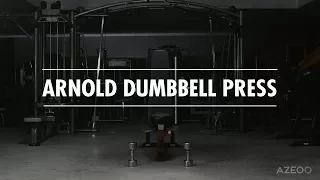
Use a smooth rotation and controlled overhead range. If rotation feels uncomfortable, switch to a neutral-grip Dumbbell Overhead Press. Read more Read less
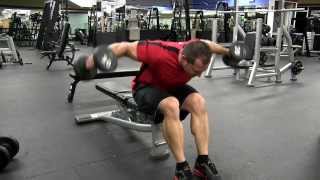
Use light dumbbells and lead with the elbows. Keep the torso still so the rear delts work instead of momentum and upper-trap shrugging. Read more Read less
Do each exercise back to back without resting between them. Rest after completing the pair.

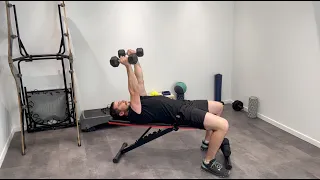
Do each exercise one after another. When you finish the list, rest then start again.